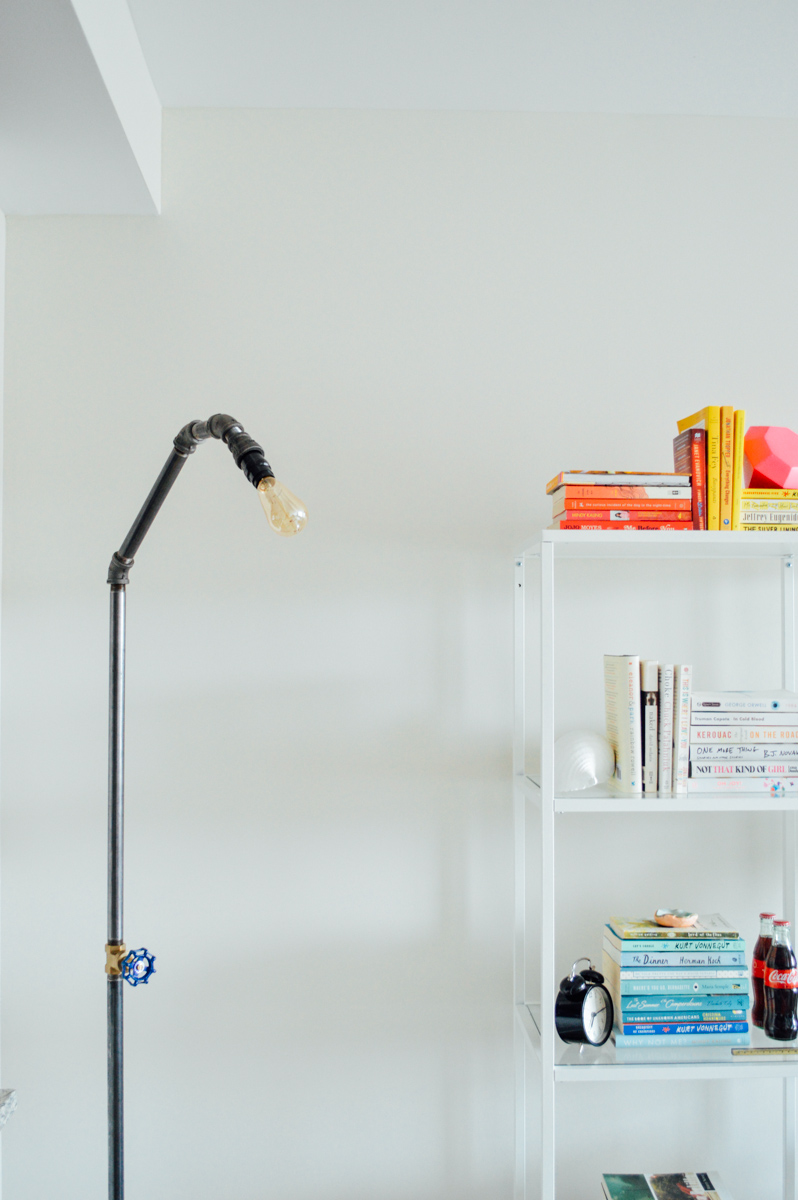
This DIY floor lamp is way too fun, right? I love having it in our living room. It’s always a conversation starter. Partially because it almost looks like a shower, right? I feel like I’m totally cheating though since I didn’t make it, T. did! He created our floor lamp thanks to a nifty Home Depot project. What a handy guy.
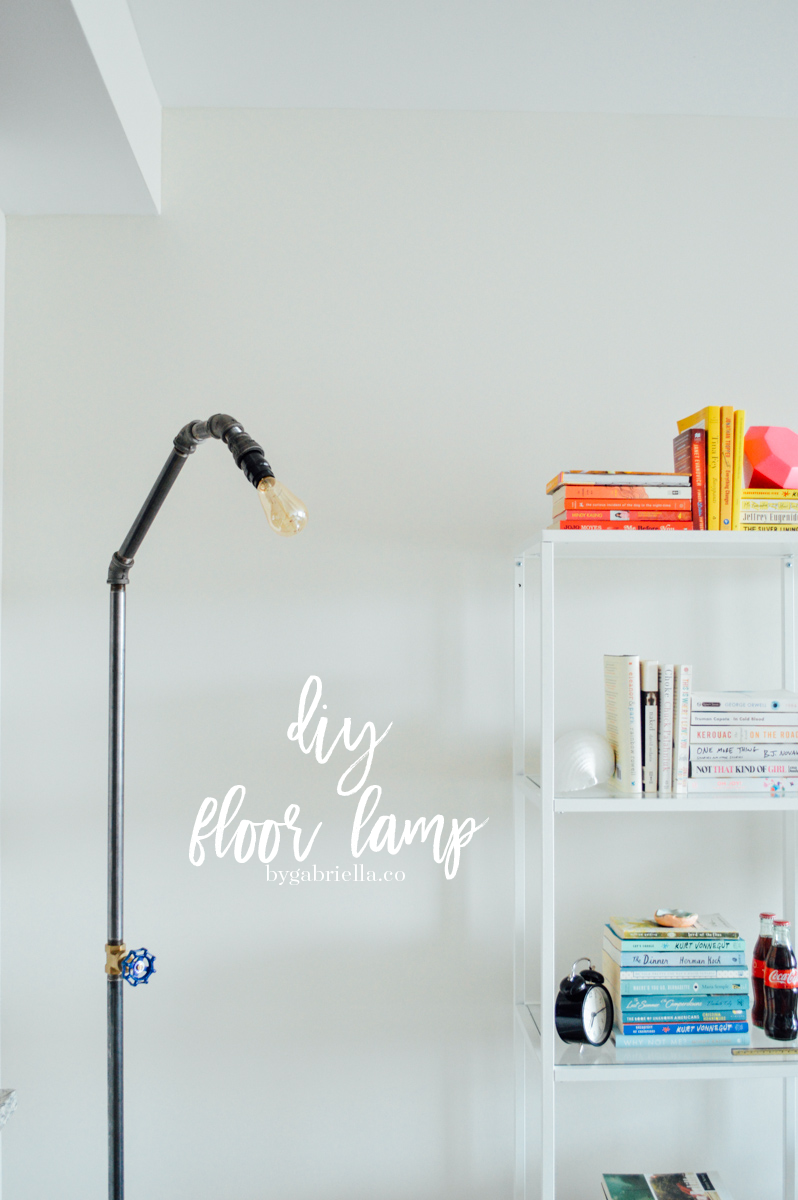
Though I am giving him full credit here, so that doesn’t mean cheating, it just means sharing – sound logic. Regardless of who made it, it’s such a great piece for our home and pairs quite well with our DIY copper curtain rods.
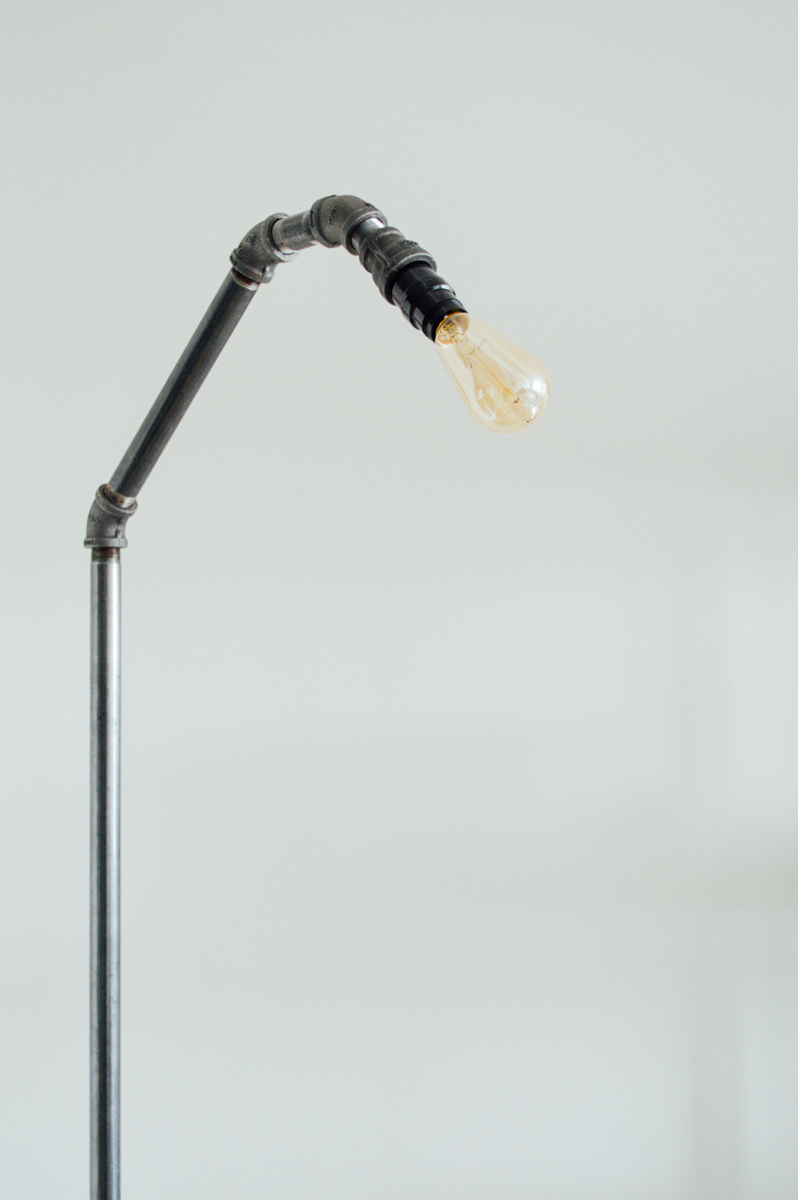
What You’ll Need
- Black Malleable Iron Threaded Tee (4)
- Black Malleable Iron 90 degree elbow (4)
- Black Malleable 45 degree elbow (3)
- 3/4″ strain relief fitting
- 3/4″ brass gate valve
- 3/4″ close nipple (2)
- 3/4″ x 2 1/2″ pipe
- 3/4″ x 4″ pipe (4)
- 3/4″ x 6″ pipe (2)
- 3/4″ x 10″ pipe
- 3/4″ x 24″ pipe
- 3/4″ x 36″ pipe
- 1″ x 3/4″ reducing coupling
- Lighting Kit
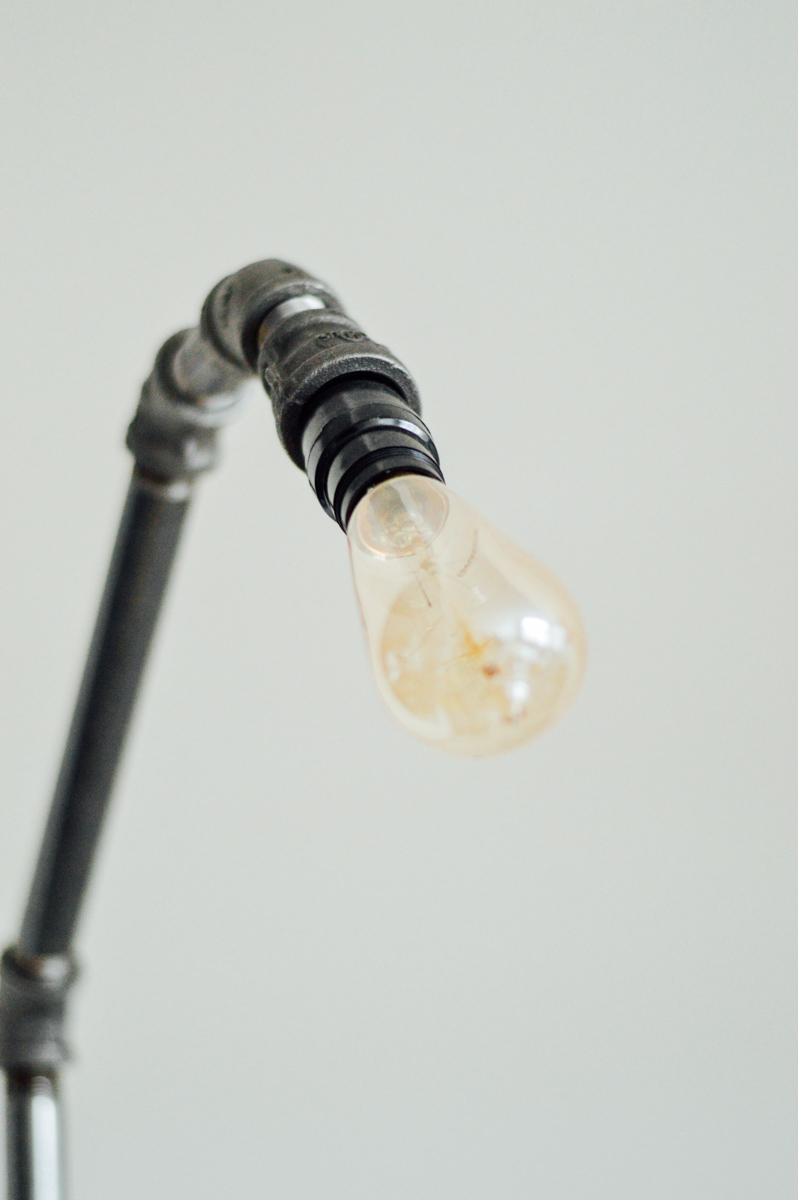
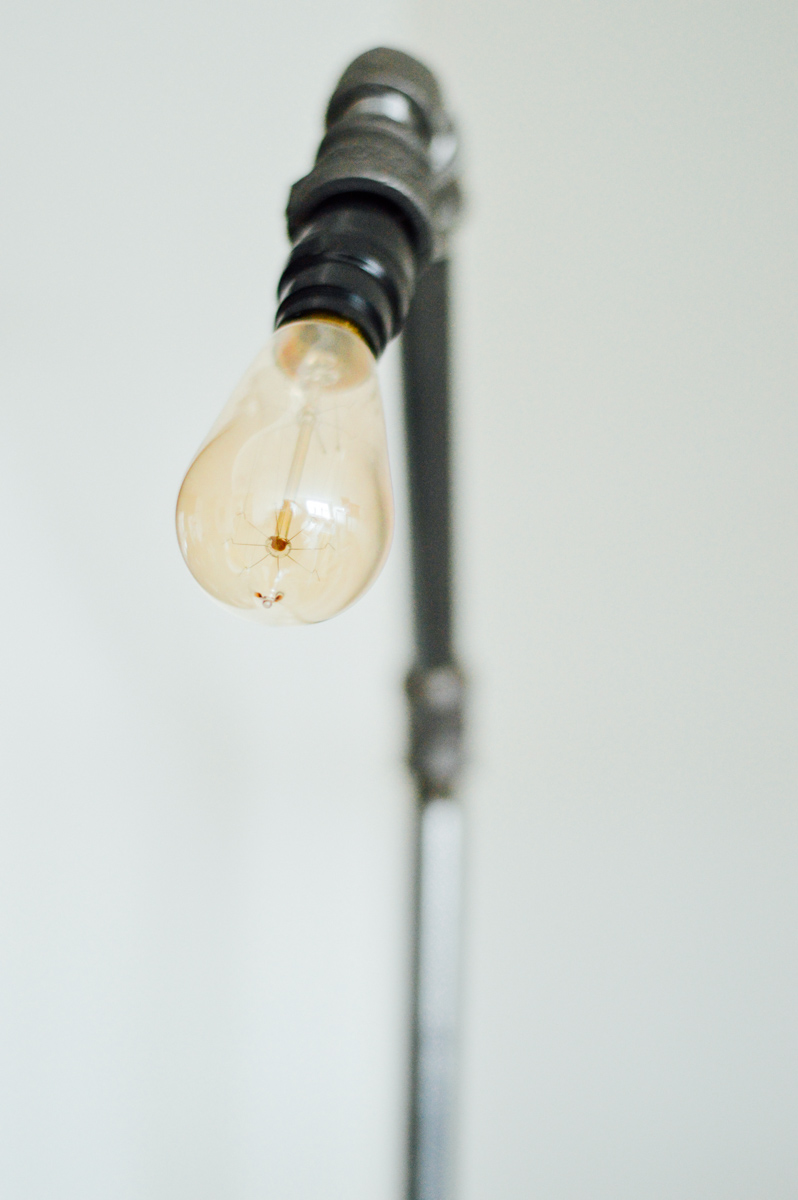
- Lightbulb – we went with an Edison bulb, of course
DIY Floor Lamp
Keep in mind, this lamp is totally customizable, so I’d say draw a layout you like and go from there. The following is shared by T., what a guy 😉
I’d highly suggest checking out the Home Depot post, where you’ll see photographs of each step. This is what we used to make our DIY floor lamp, so it’ll surely be helpful!
If it’s not another DIY you’re looking for, take a peek at one of my favorite cocktails yet – the Blood Orange Paloma. Another one is coming your way tomorrow, duh.
What’s next on your DIY list? I have a collab coming up that you’re going to l.o.v.e. and it includes new DIY projects! Stay tuned; I can barely keep my excitement to myself.
g.
This one sounds pretty tricky!
Buckets & Spades
Oh this is so cool! I love the industrial vibes 🙂
Thank you so much! It was definitely a trickier DIY, but worth it.
g.