After moving into our new apartment late last year – hold up – last year! 2015 was LAST YEAR. Weird, right? Anyways, after moving into our new place, we knew we wanted to make it our own, but we needed to do it on the cheap.
The Before
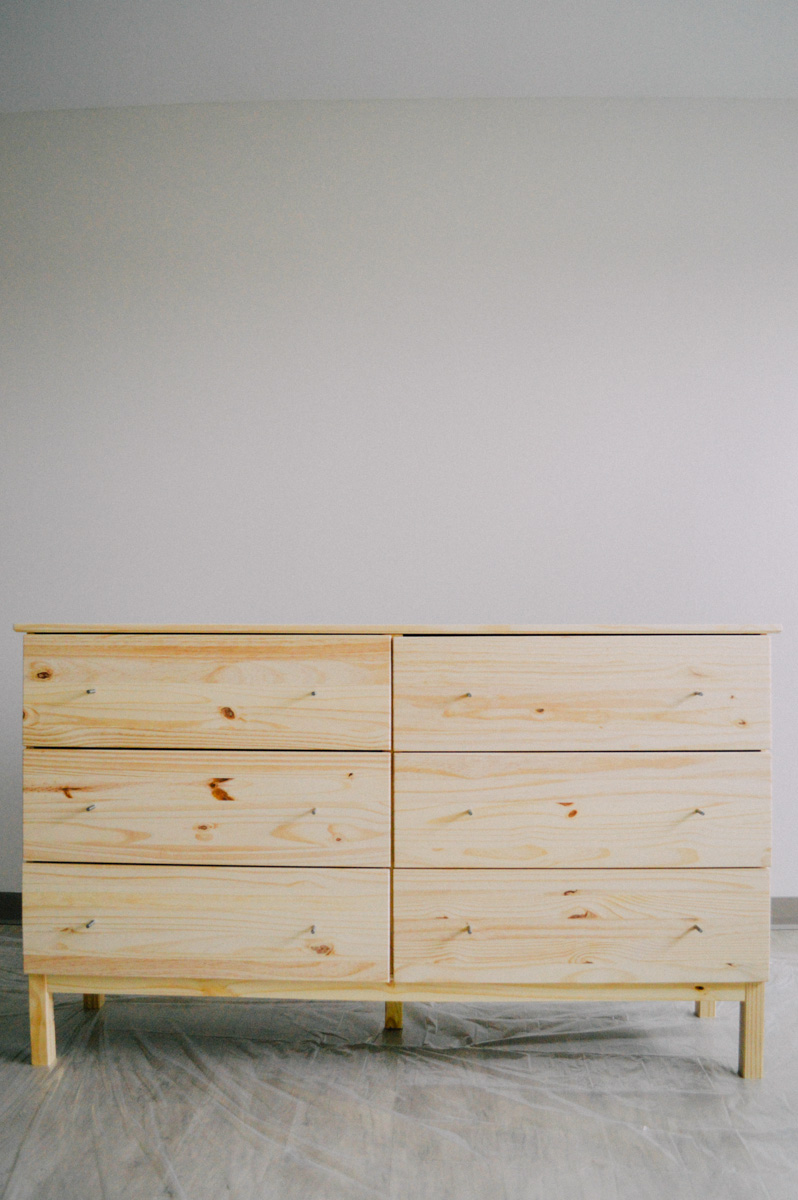
I picked out my favorite pieces, but of course almost all of them were higher than our budget would allow for. So, we picked up some stuff on the cheap (ahem…IKEA, duh) and decided to DIY them. First up, the IKEA TARVA dresser hack!
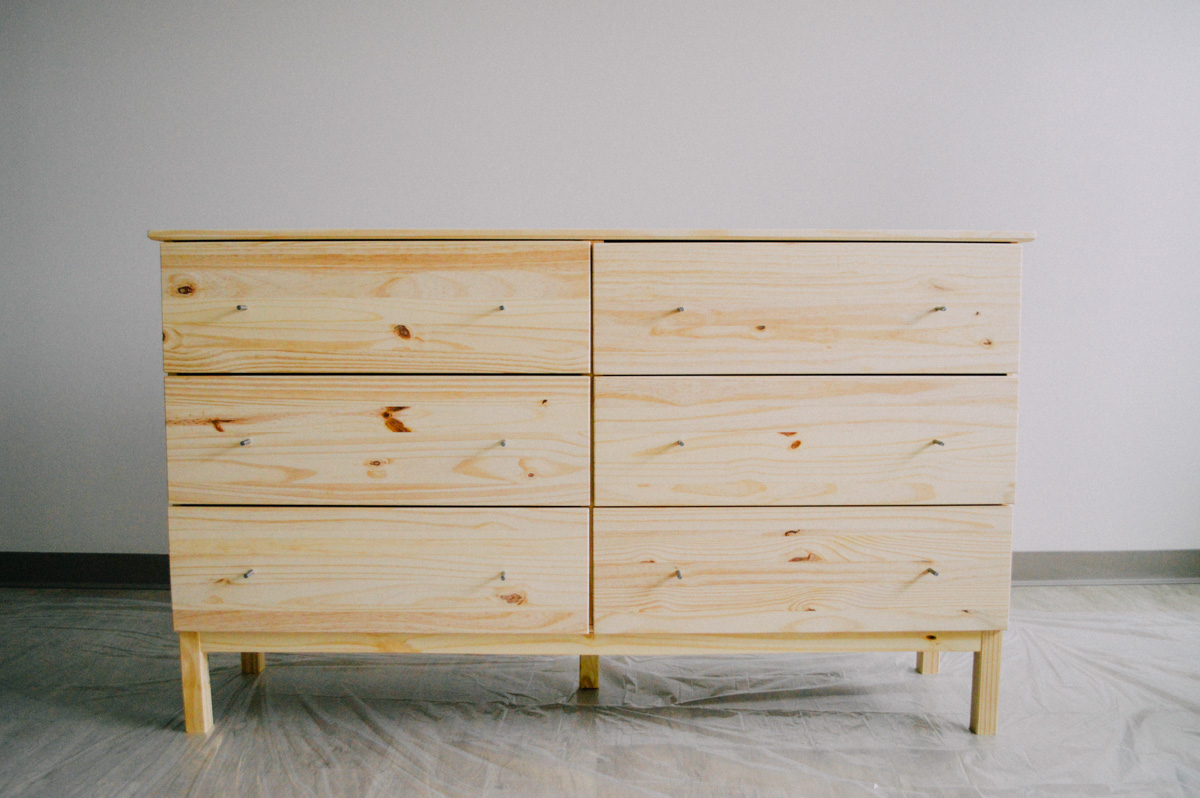
See above photos for the before. Well, this isn’t a “true” before photo, because we had already swapped out the handles. I just couldn’t even deal with them, they were the worst.
What You’ll Need
Supplies:
- Painters tape
- Fine sandpaper
- Dropcloth
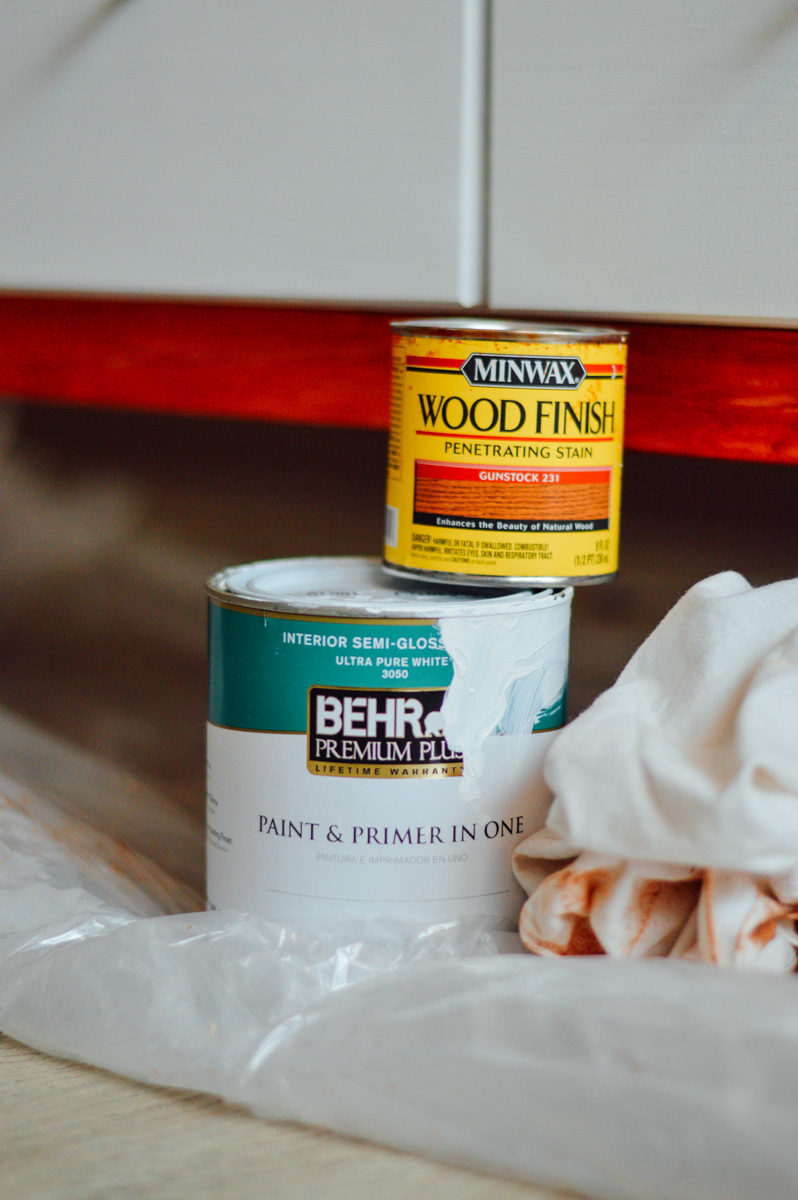
- Paint and paint primer (we grabbed an all-in-one from Behr)
- Indoor wood stain
- Paint tray
- Roller brush
- Small foam brush
- Bristle brush
- Old cloth (that you don’t mind getting wood stain all over)
Pro tip: We picked up everything from Home Depot.
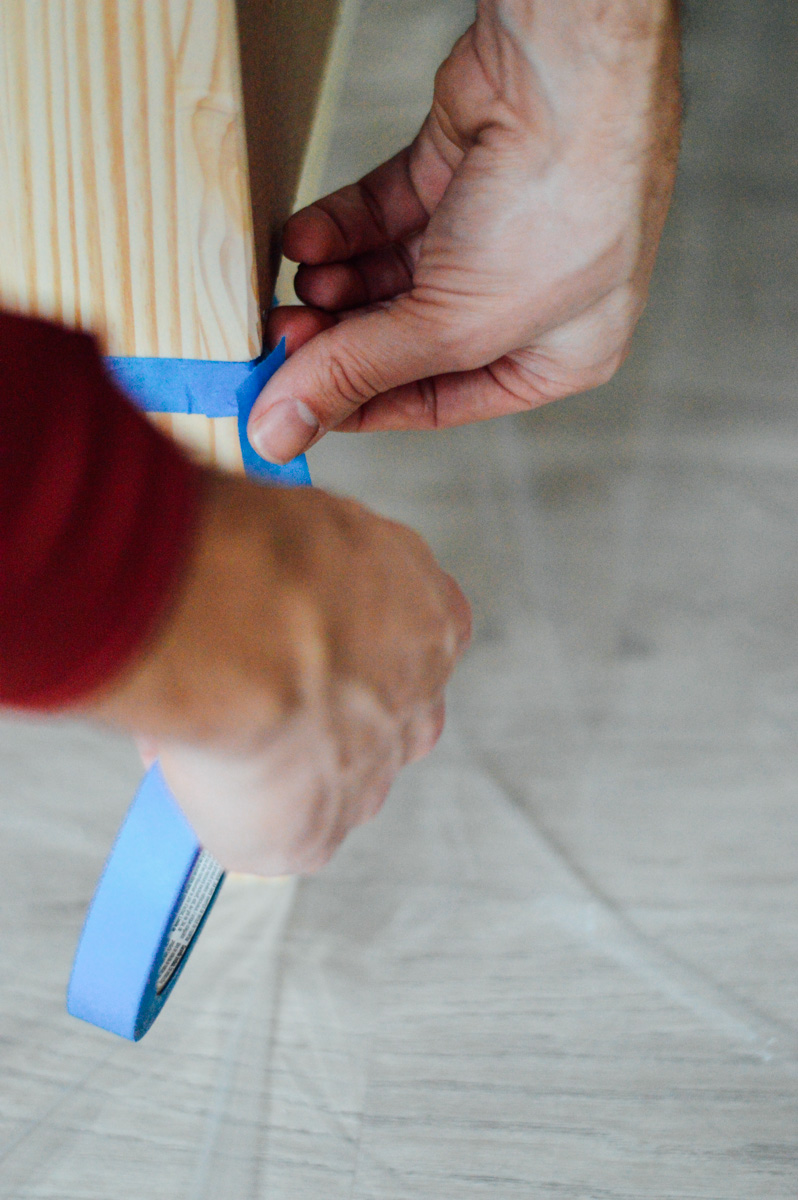
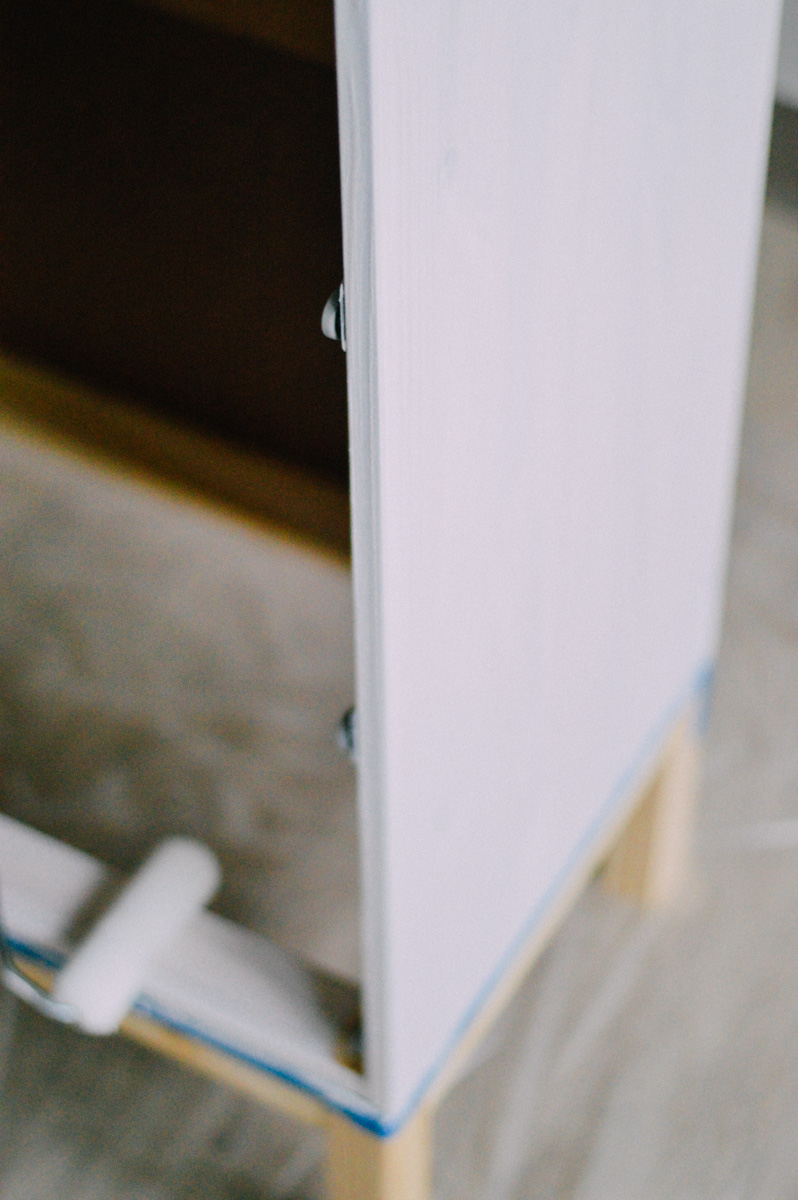
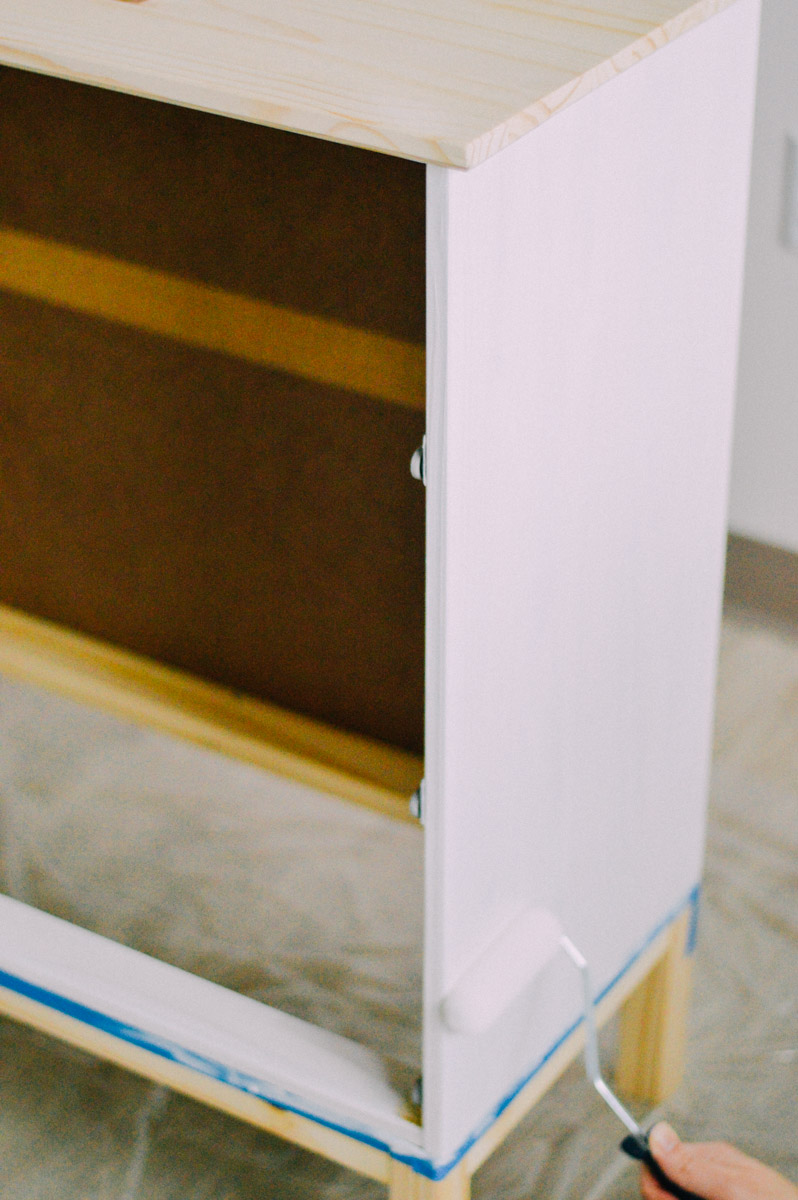
1: Place drop cloth down where you’ll be painting. Remove the handles and tape off the bottom of the dresser. We painted the top first and stained the bottom after.
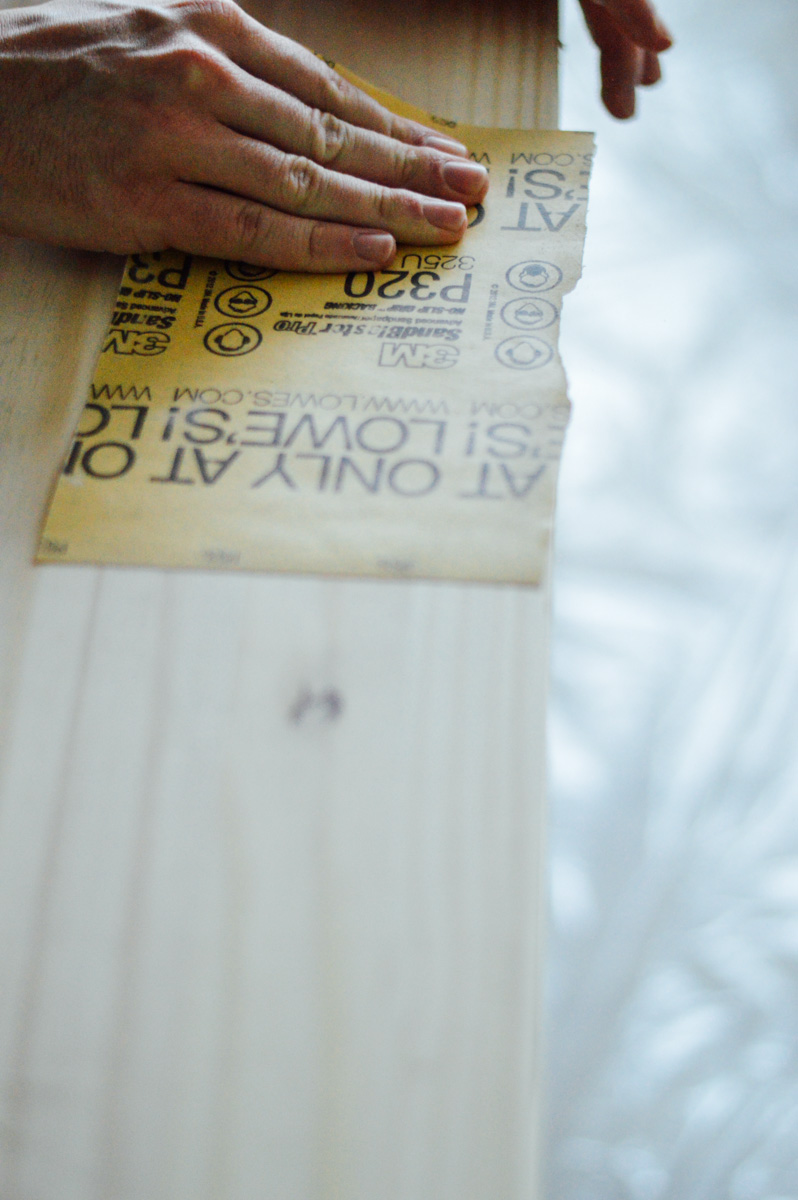
2: Sand it to smooth out the dresser. Be sure to clean it all up so you have a dust-free surface for painting.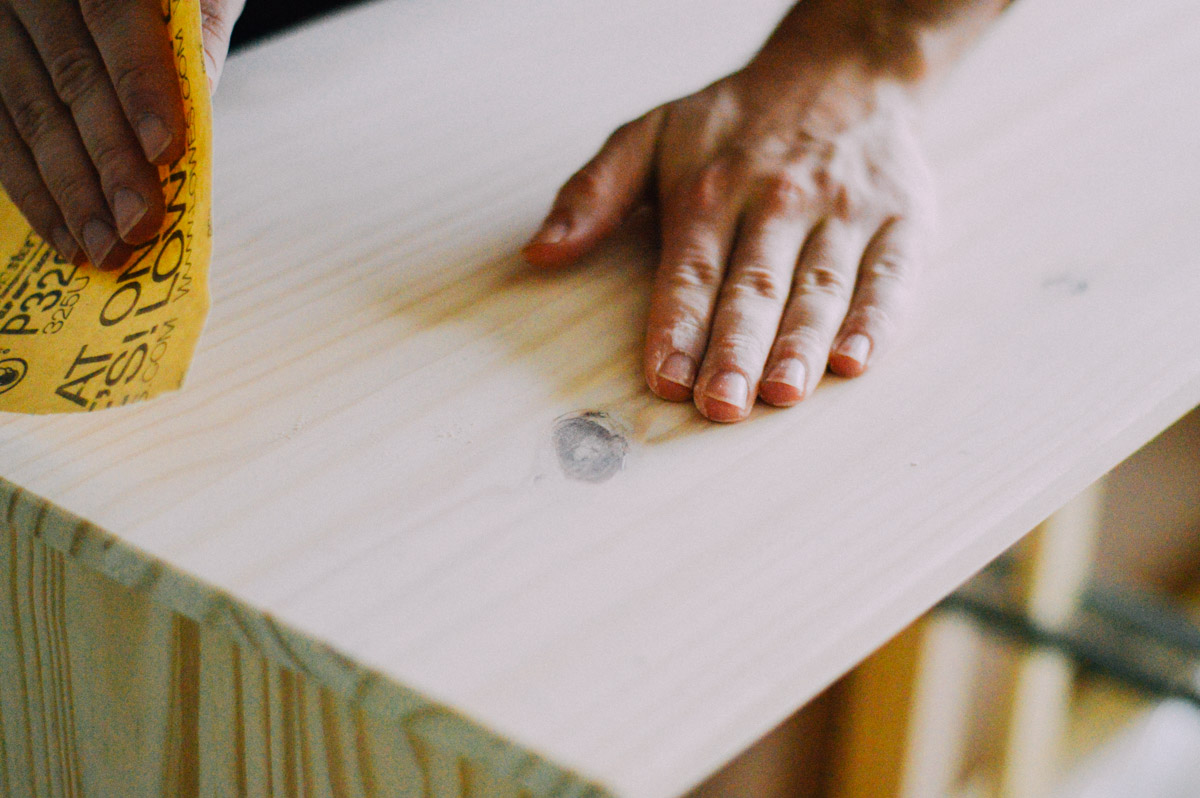
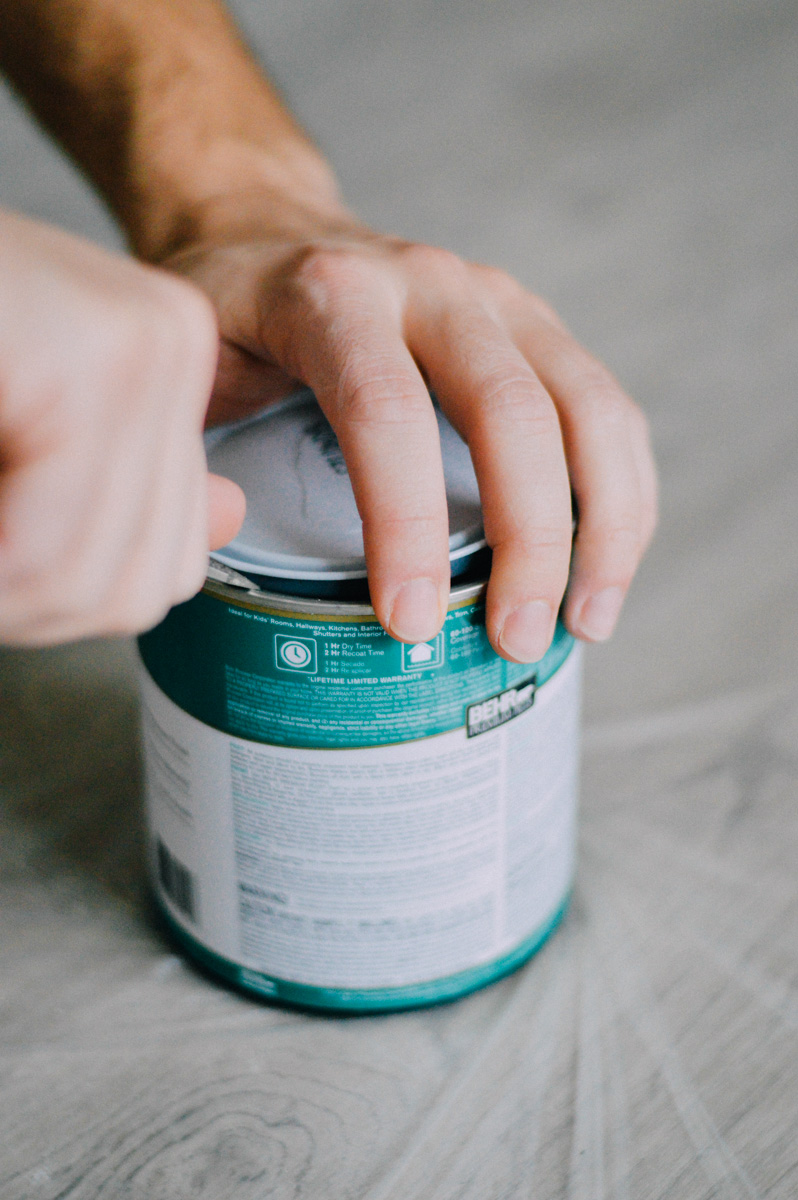
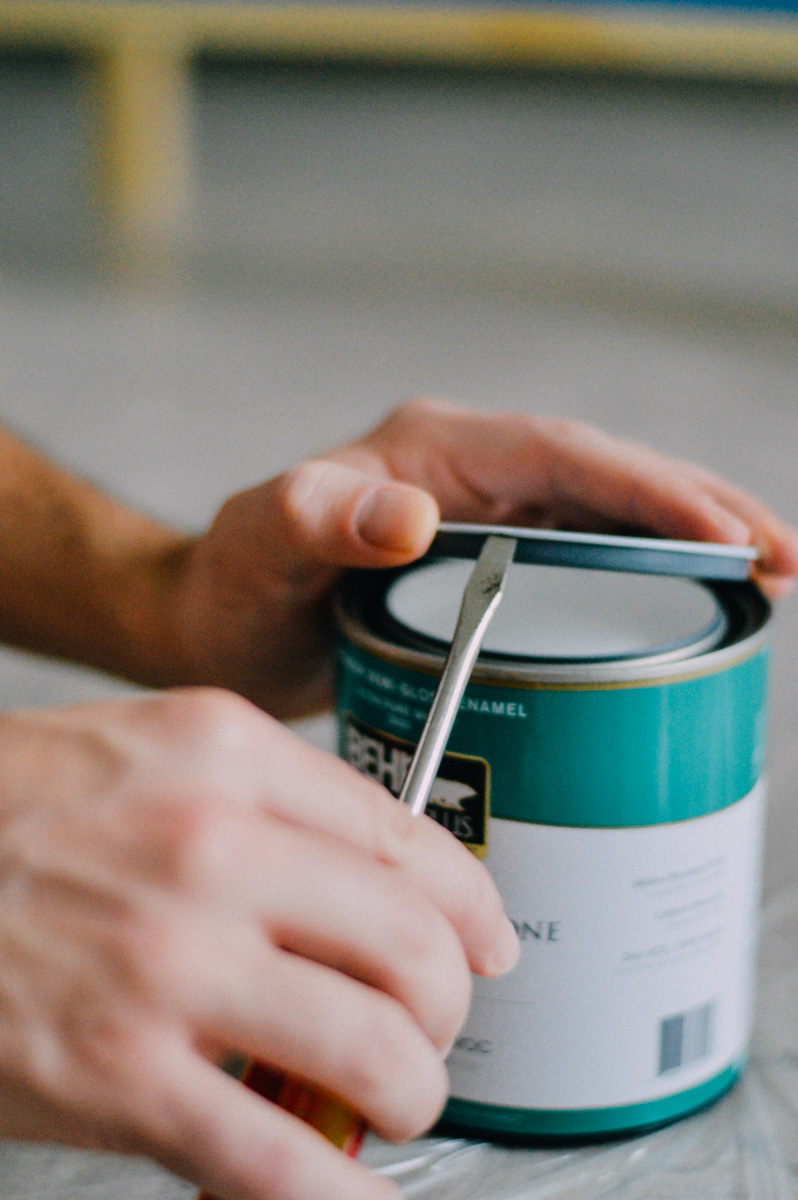
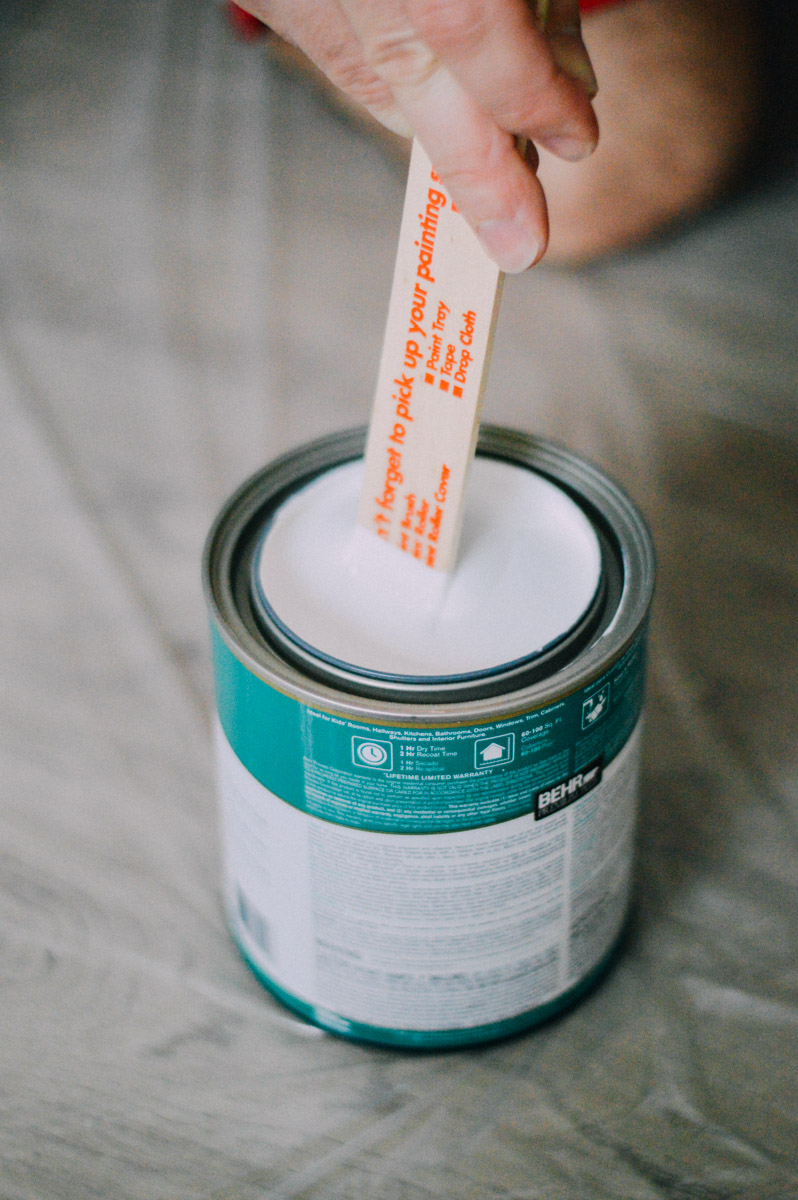
3: Grab your paint, stir it well, and open that baby up.
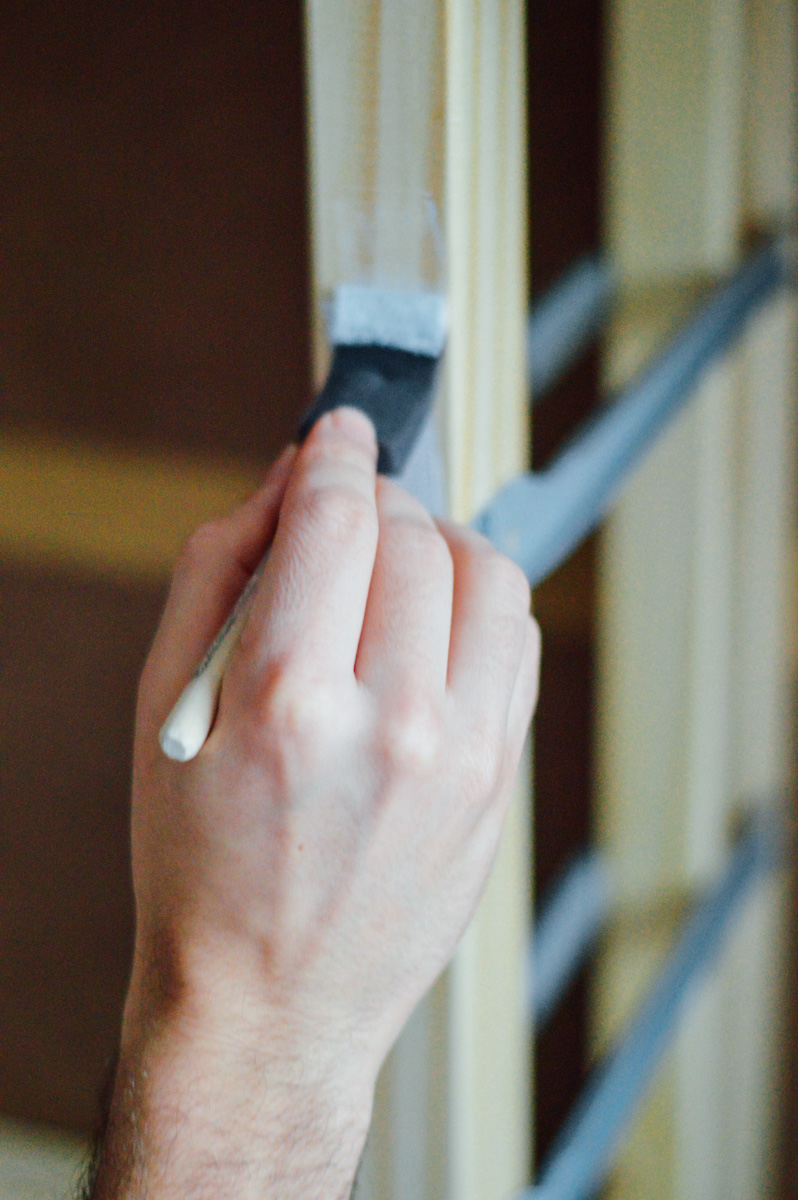
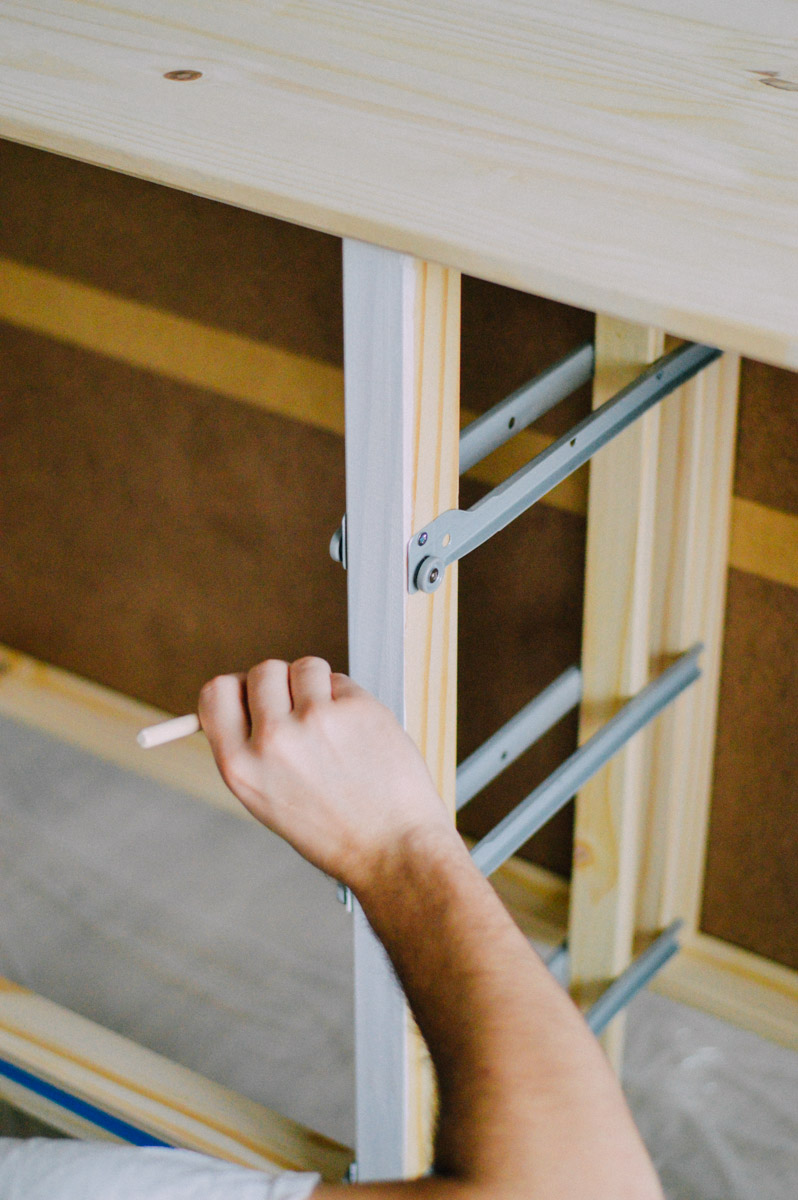
4. Paint the small spaces with your foam brush. We used it on the inside of the dresser and the tops and bottoms of the drawers and sideboards.
5. Use your foam roller and paint the large pieces of the dresser – the front of the drawers, and the top and sides of the dresser.
6. Once everything’s painted, let it dry per the paint’s instructions. Ours needed to dry for 1 hour, with a 2 hour recoat time. We didn’t actually wait the full two hours, and just went for it. What can I say, we’re impatient.
7. Apply as many coats as you’d like. We went with three to cover up the wood as much as possible.
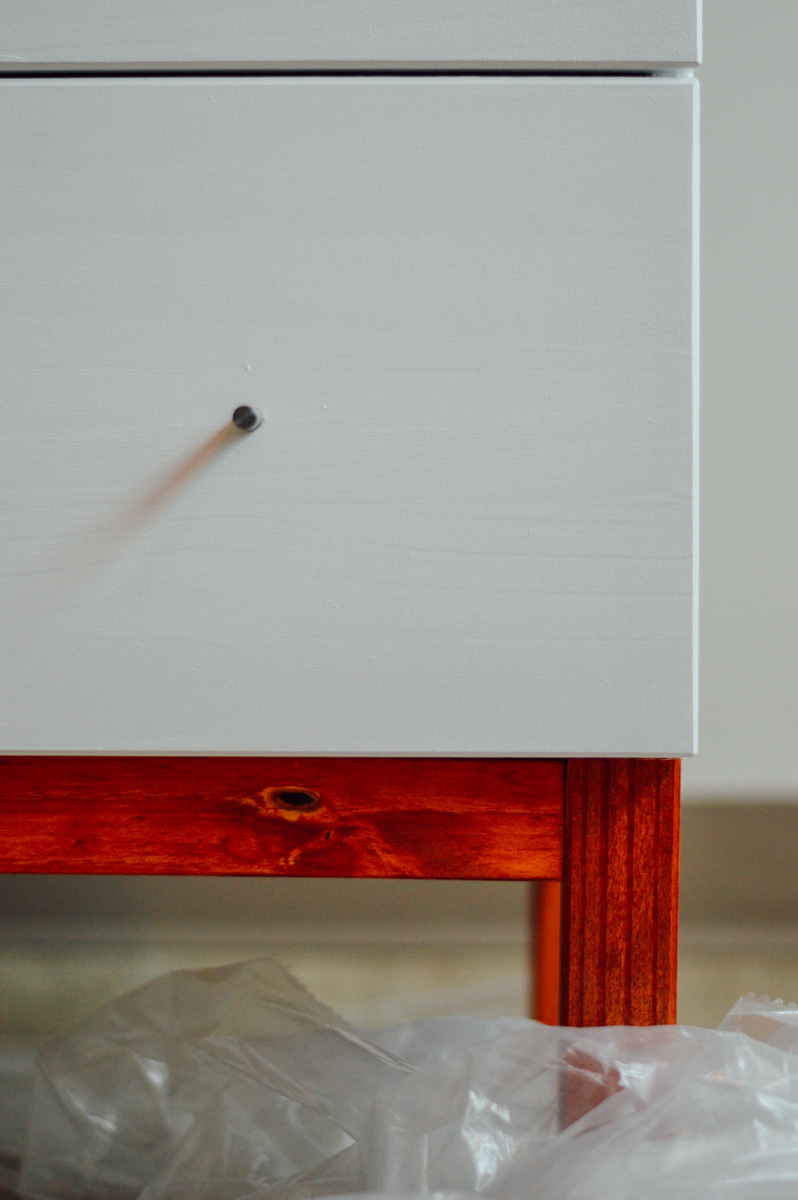
8. Take off the painters tape. Add new tape right above the area where you’ll be staining – so, right on top of the painted section at the bottom of the dresser.
9. Apply wood stain per its instructions. For ours, we rubbed the stain on with a cloth (you can also use a brush, but double check those instructions!) and let sit for 10 minutes. We removed the excess stain that didn’t soak into the wood with a different cloth.
10. Let dry and you’re done! Not so bad, right?
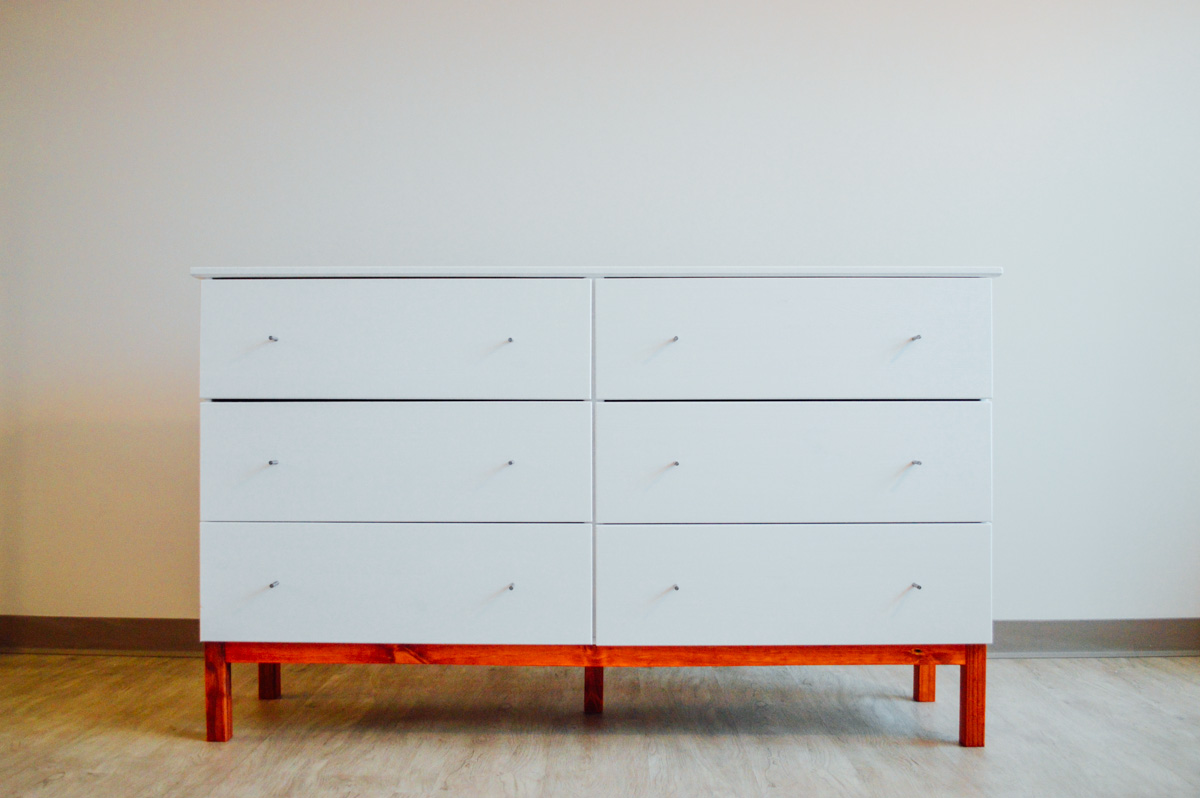
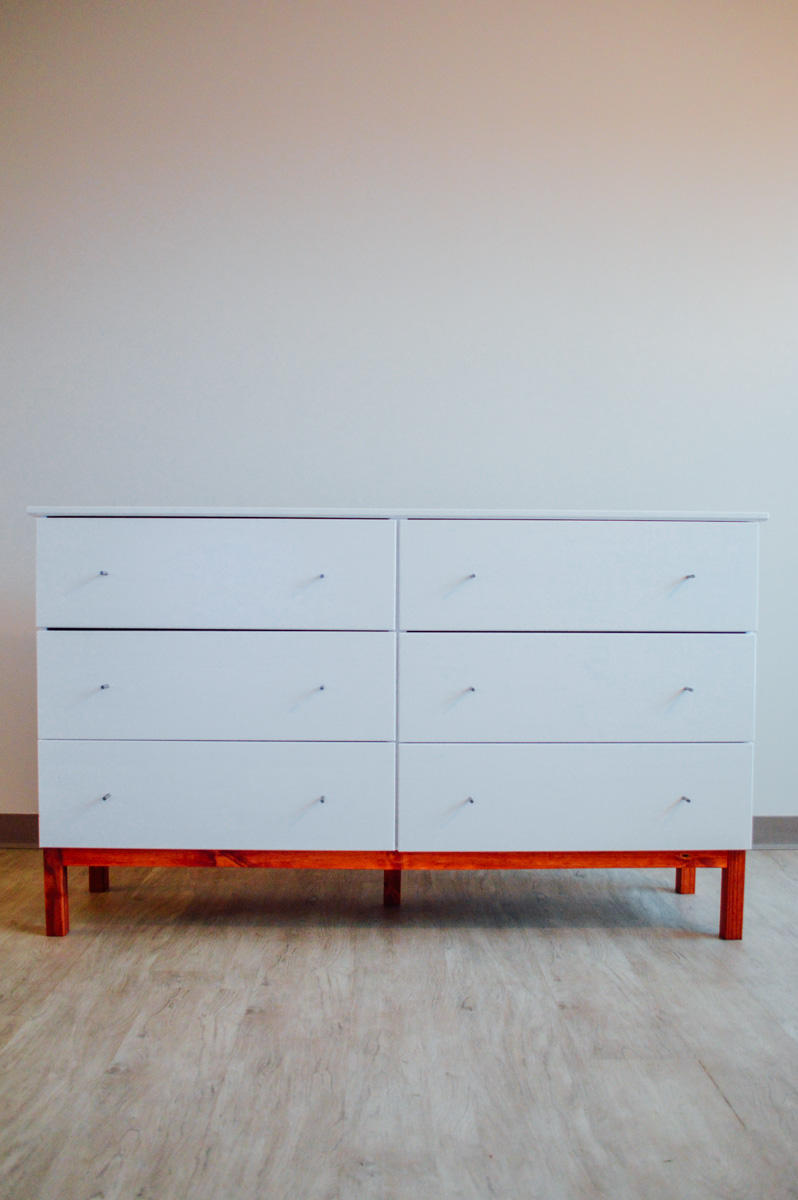
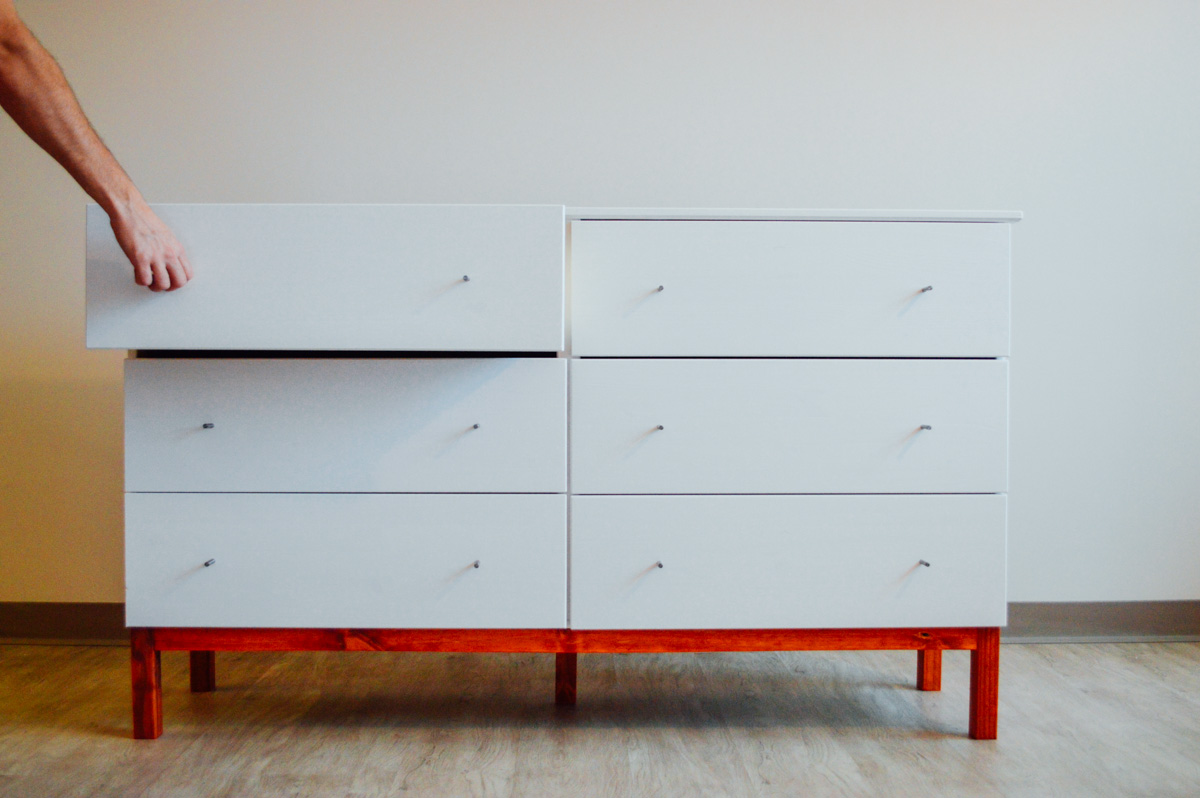
The After
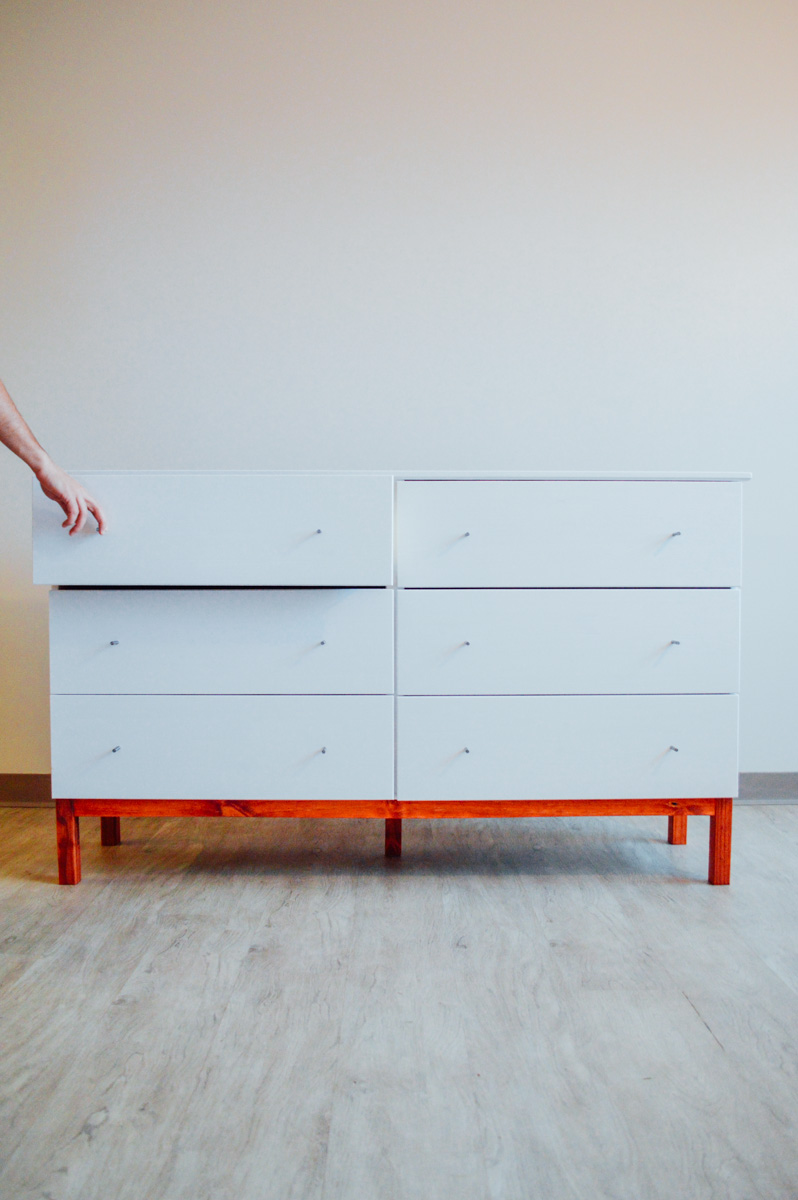
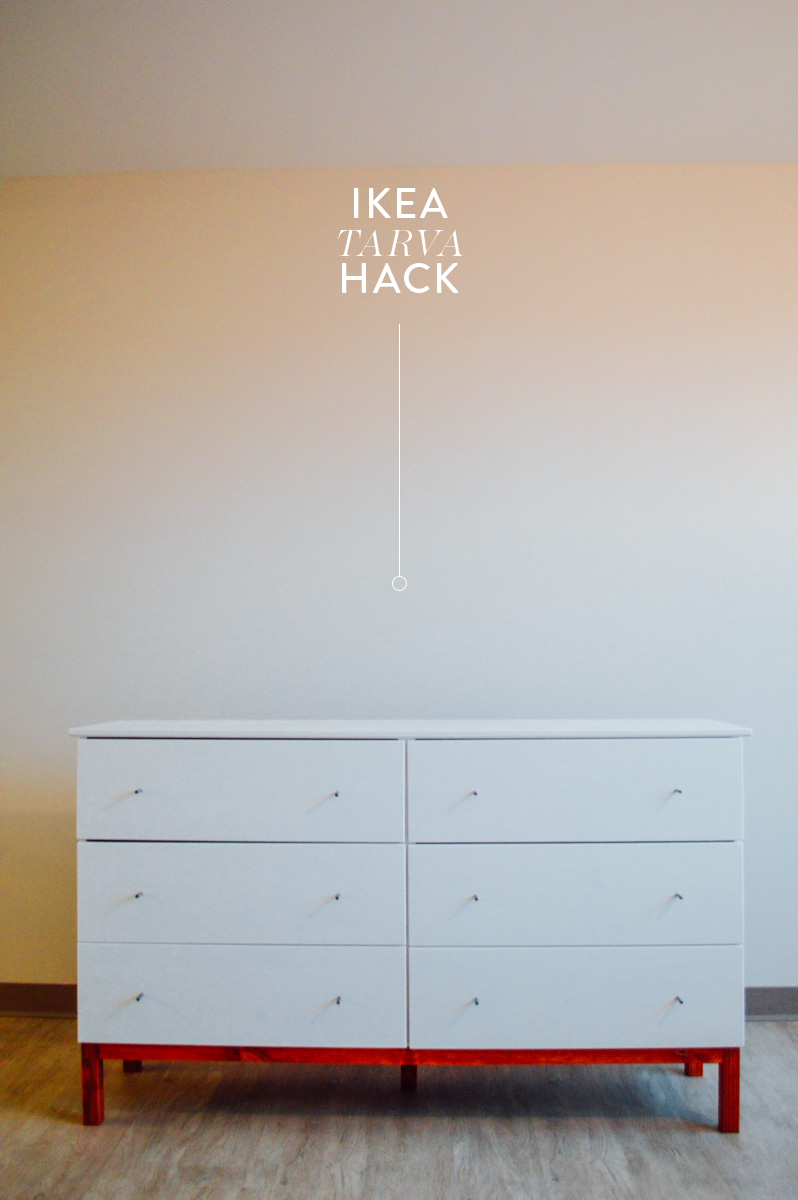
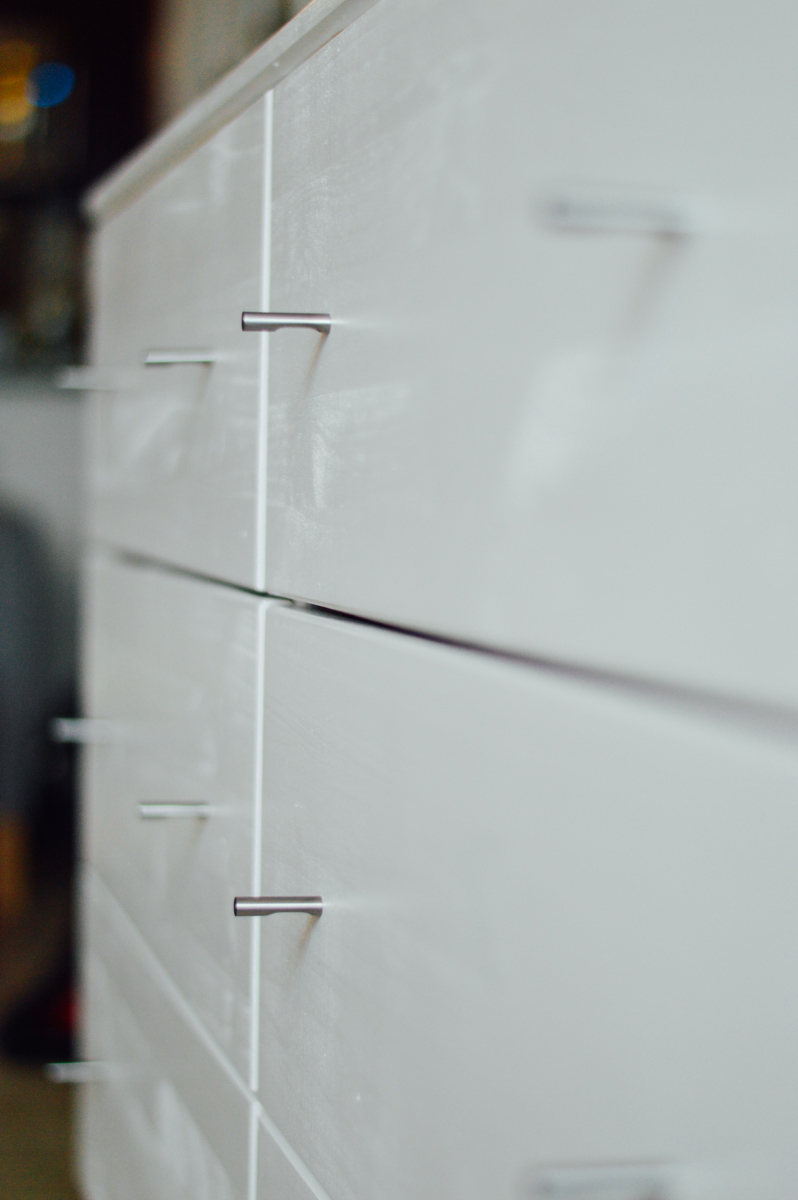
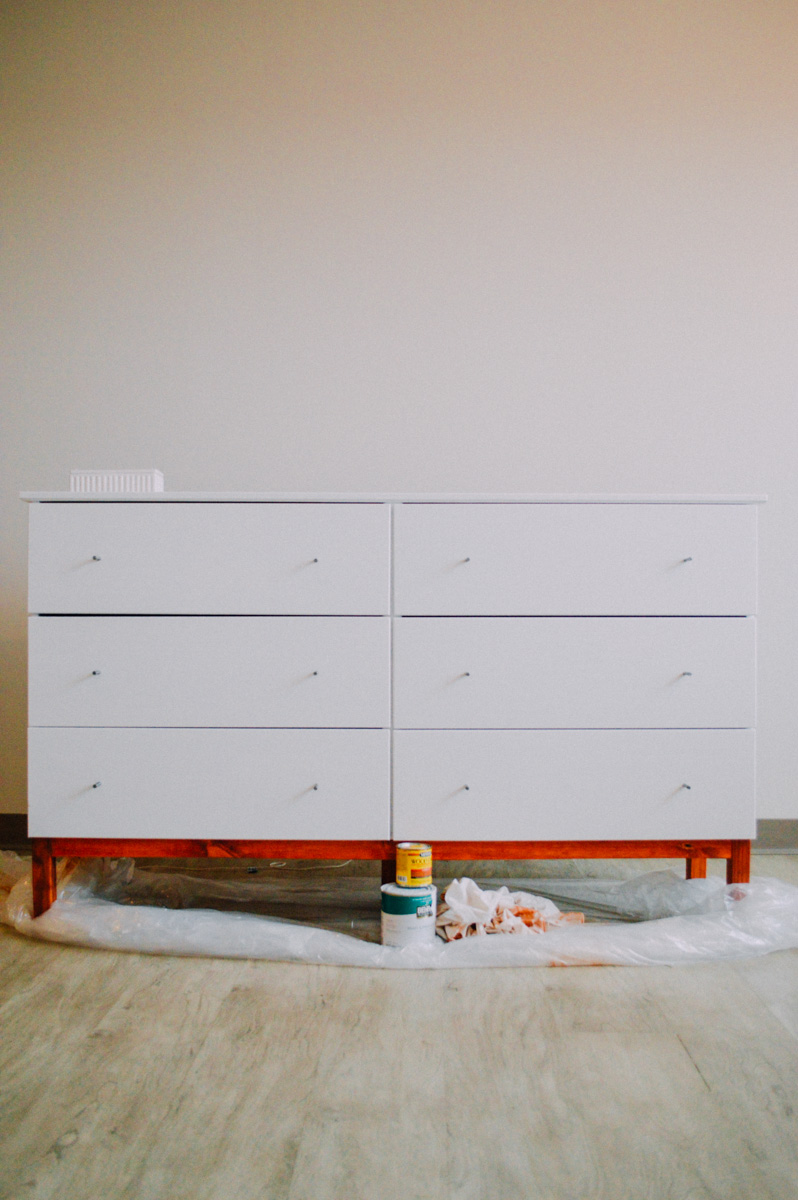
This IKEA TARVA dresser hack took a bit longer than we expected…..as in….all Saturday afternoon. So, I highly recommend you carve out a day for the project. A rainy/snowy day is ideal.
Do you have any upcoming home DIY projects? What’s on your list?
ps. This post was inspired by Apartment Therapy!
g.
If this is anything to go by then your new place is going to be a modernist’s dream!
Buckets & Spades
Ah thank you! We’re still working on it, but getting there. Can’t wait to share more!
g.
Love it! I’ve refinished several furniture pieces, especially ones from when I was young. I think it’s so worth it to revamp these items when our styles change rather than spend hundreds or thousands on new pieces!
It totally is! It unfortunately took me way too long to figure it out. Now I’ll be searching through vintage finds for my next project!
g.
Love it – looks so gorgeous! I also love that T. is your official hand model 😉
Hahaha he absolutely is. It’s the best having a hand model so easily accessible 🙂
g.
ahhh this is so GOOD! love how it turned out – ikea is the best by the way.
Thank you so much! I was definitely nervous, but I’m so glad it worked out 🙂
g.
Do you know where you got your pulls from on this?
They’re from IKEA!
g.